
A grow tent
20 gauge vinyl (this is your window) vinyl This is an example, please verify your sizes before purchasing.
A needle and thread (to install the window)
Sharp scissards & a sharpie
Wire mesh or a wire mesh screen lid. (These will be used to mount your heating & lighting) screen lid wire mesh
Zip ties these will be used for installing the screen for internal heating & lighting
Heating, for this we are talking about heat bulbs and grow tent specific heaters for larger tents AC infinity heater
(Anything 8x3x3 or larger is recommended to have a heater, but this is dependent on the location of your tent.)
For heaters any brand will work. I picked this one because it has a built-in thermostat and temperature probe. Along with the ability to set target temperatures, adjustable fan settings and is compatible with the humidifier.
Lighting, this includes UVB and LED lighting
Humidifier (if applicable for your species) AC infinity Humidifier
Substrate mix, either store bought or home made. (more details when we get into your animals specific needs) DO NOT USE REPTILE CARPET OF ANY KIND
paracord rope. This will be used for mounting your UVB or climbing enrichment. https://a.co/d/5oJQISE
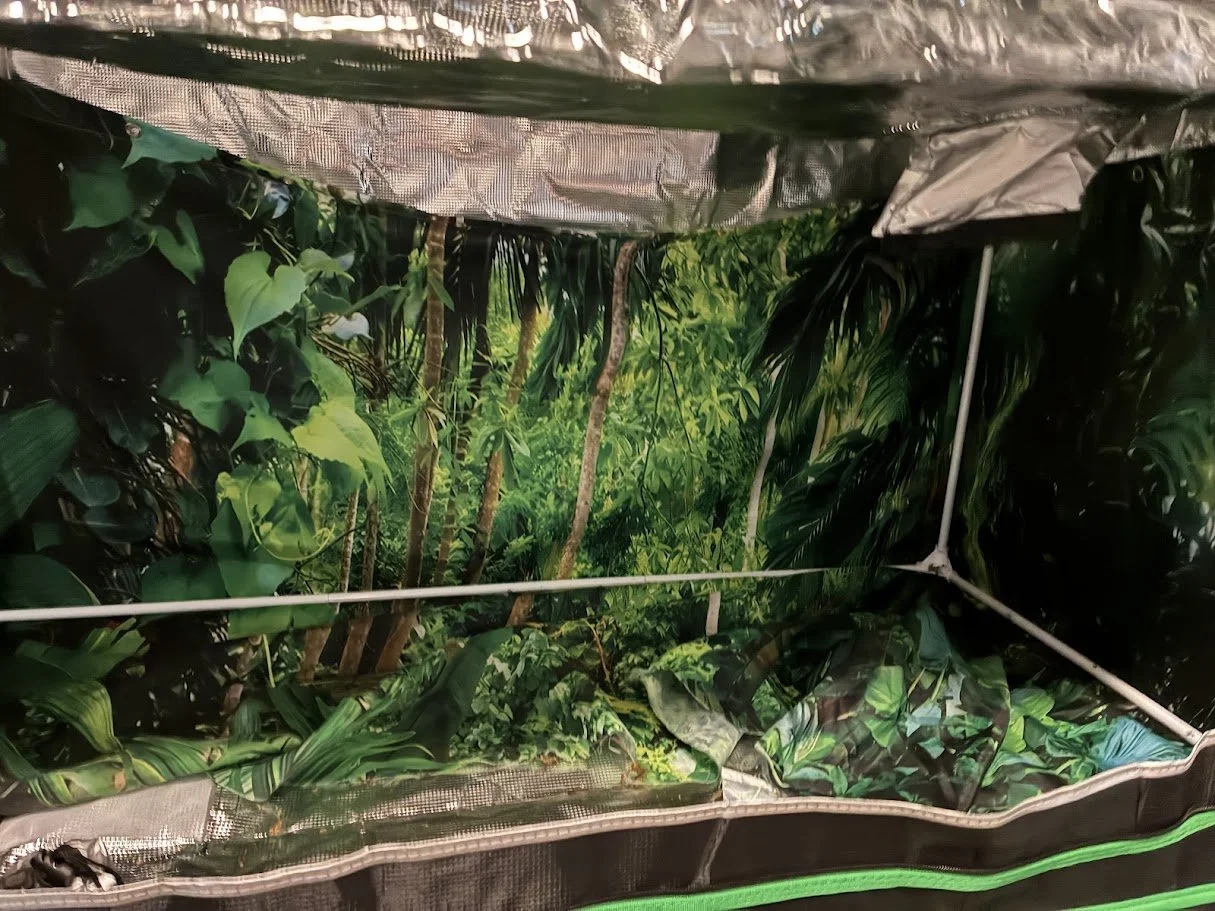
Fake or live plants
Find these at your local hardware store or craft store.
Hides, a minimum of two. One for the hot side one for the cool side but the more the better!
Background. (optional) You can use a shower curtain -curtain , bamboo shades - Shades , plant privacy fence attachments - plant or create a 3D background using installation foam. (links are examples please double check your measurements before buying)
Substrate barrier. This can be done by using a water proof tarp or pondliner.
Things that make life easier
3D Background supplies
Supplies needed for your grow tent
How to make a full view window
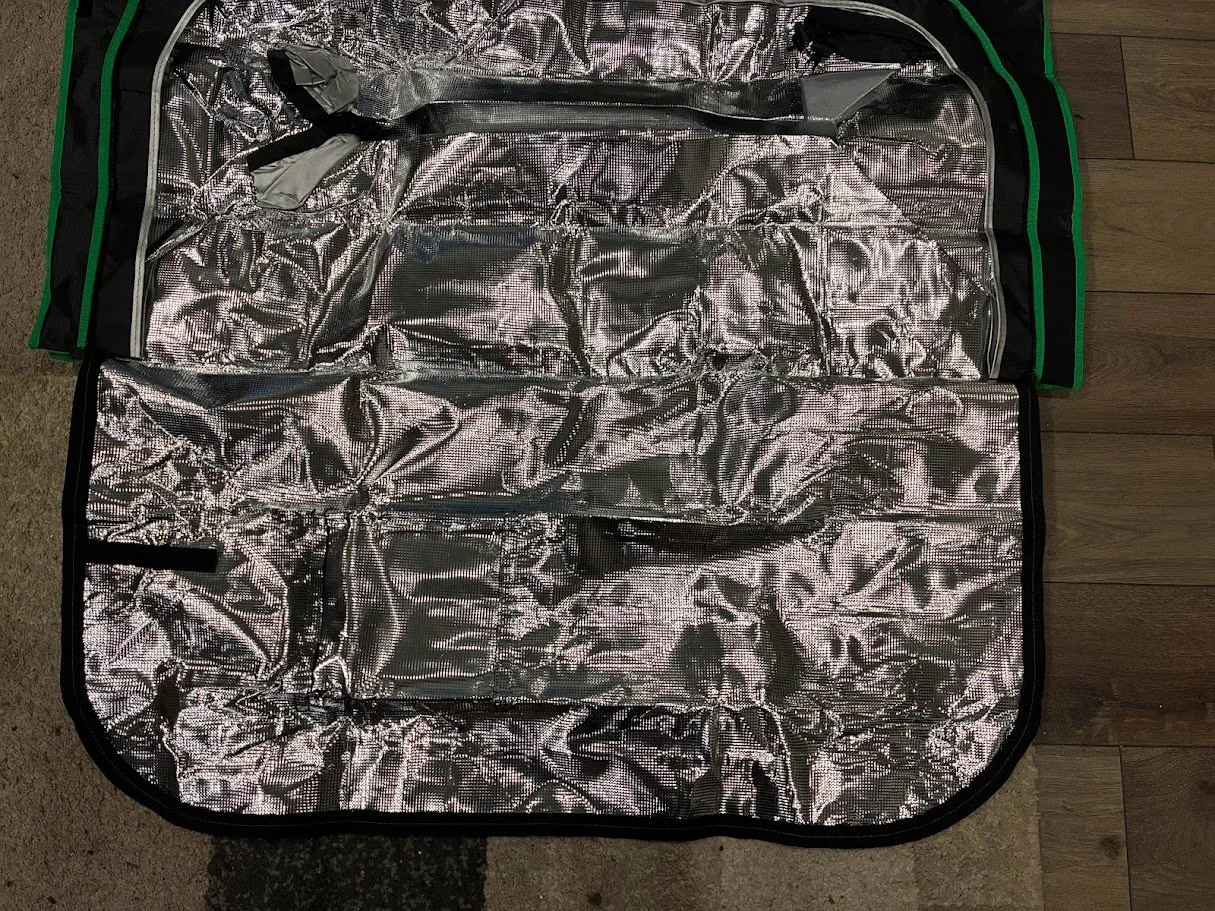
Step one: Remove your tent from the box and lay it flat on the ground with the reflective side facing out.
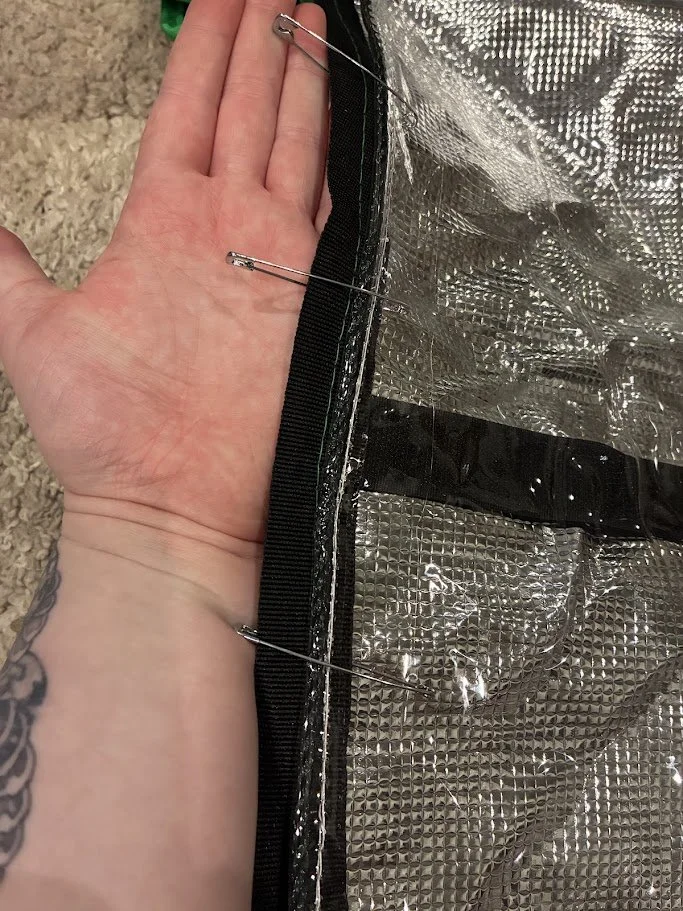
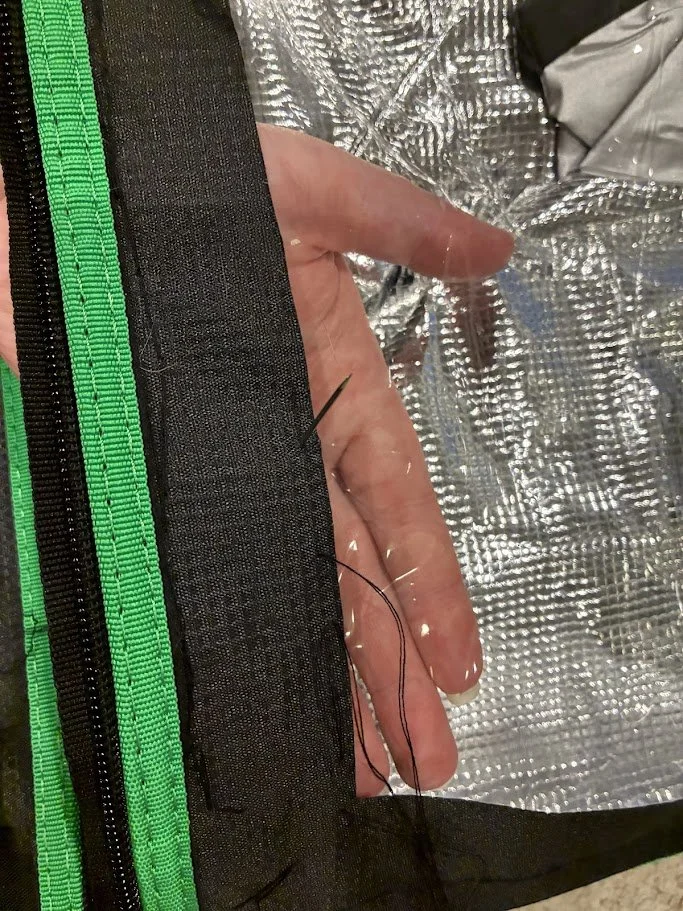
Step two: Pin your vinyl to the tent door.
Step three: Sew two sides of the vinyl completely to the tent door
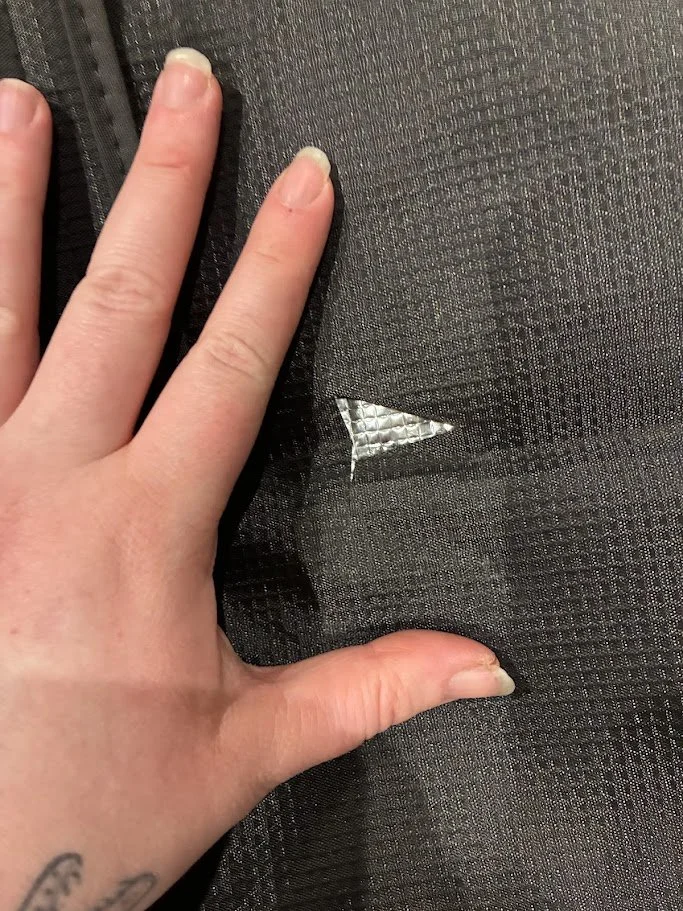
Step four: cut out a small hole in the center of the tent fabric
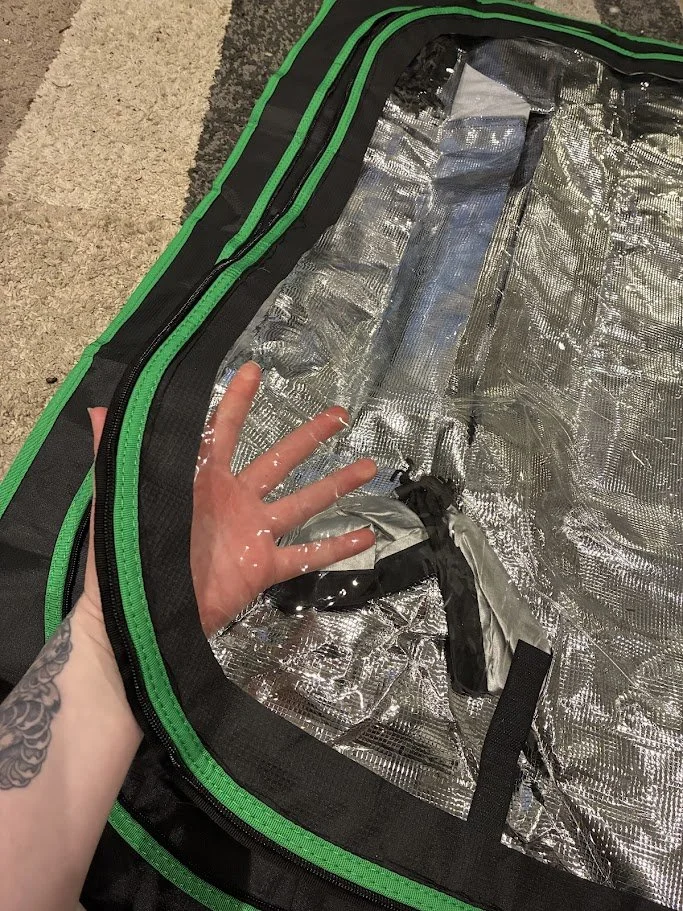
Step five: Finish sewing the remaining sides of the vinyl.
Step six: From the hole you made earlier cut out the tent fabric into the size & shape you want your window to be
Step seven: Sew along the open edge of the tent lip you just made.
Base and drainage layer options
Pond liner or tarp substrate barrier
Step one: Place your tents frame on top of the pond liner or tarp of choice
Step two: Cut your tarp to the desired size. (most animals should have 4in of substrate)
Step three: Place your tarp inside the tent or place the base underneath your frame and build your tent like normal with the base in place.
Step four: For a tighter fit along the walls silicone or sew your base directly into the tent fabric. (optional)
Drainage layer
Clay balls
Lava rock
Pea gravel
False bottom
Background installing and options
3D background
Step one: Cut your foam board to size
Step two: while outside of your tent use silicone or expanding foam to add in your shelving.
Step three: if you are not covering your entire foam board in expanding foam, go over the entire thing with silicone and add a dry dirt mixture on top before your silicone cures or paint your foam with the desired look.
Step three: If you are covering your foam board in expanding foam, spread a dry dirt mixture over the foam and pat it down before it starts to cure.
Step four: Fit your now completed foam board background into place in your tent. Take some silicone and apply it to the back of your tent and weigh your background down until the silicone is cured.
Flat background
Shower curtain: Using the hooks that come with the curtain or zip ties fix the curtain into place on your tent frame Pull your curtain tight from under and around the base and side poles for the tightest fit.
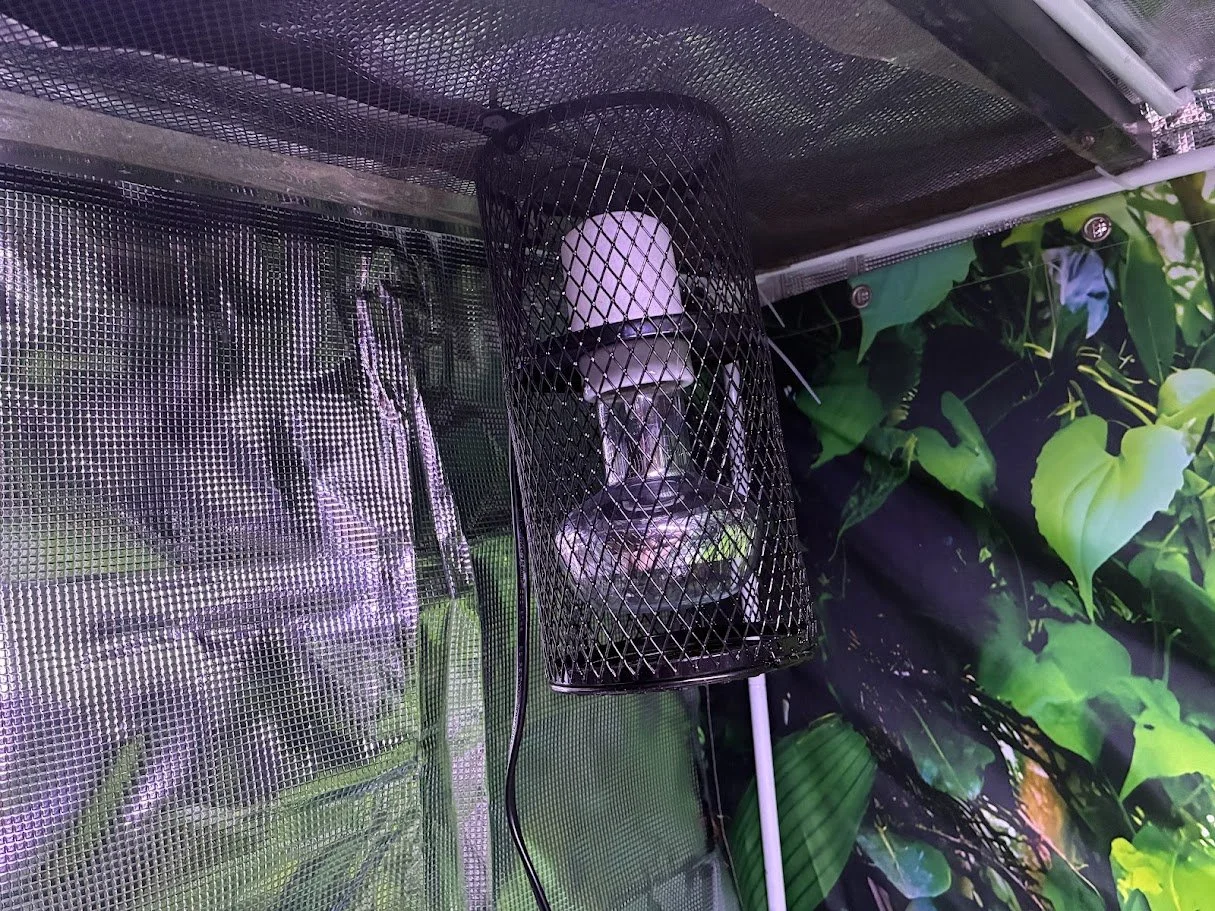
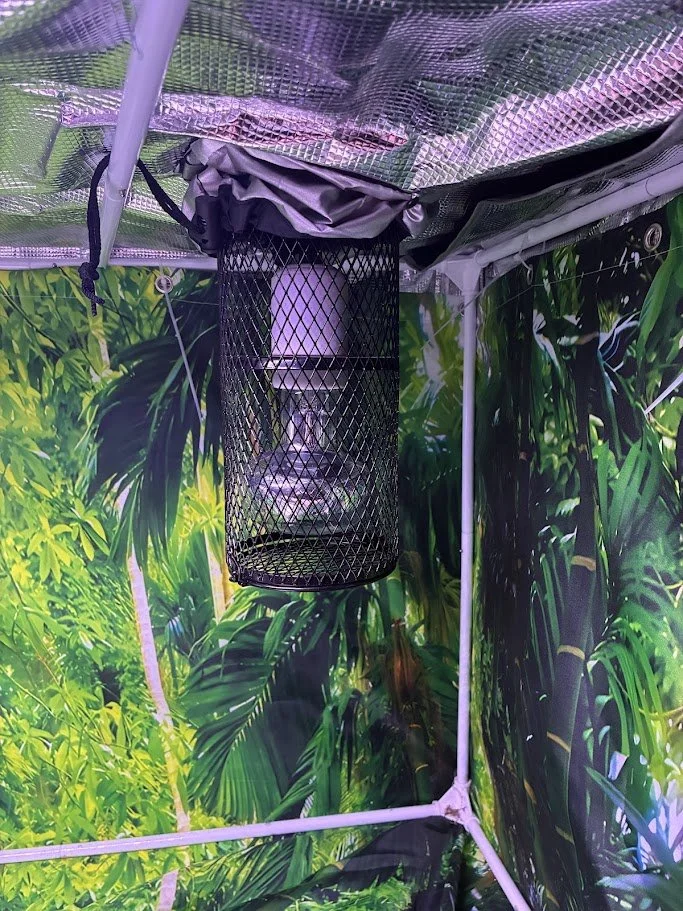
How to install internal heating w/ wire mesh lid
Step one: pick a side where you'd like your hot spot to be (far left or far right)
Step two: zip tie the mesh lid onto the tents frame Mesh lid (get whatever size that suits your needs best)
Step three: using the screws that come with your heat lamp fixture & heat cage (if applicable) screw the fixture into place then pull the wires up and out one of the pre-made tent holes.
Step four: Some UVB lights will come with metal brackets for easy installation. If you do not have this option create a slip knot loop between the tent frame for mounting or zip tie the UVB to the metal mesh. - make sure your UVB is near the heat lamp
Step five: install the LEDs using the same method. These can be placed more freely.
How to install heat lamps
Bonus internal install
Use the pre-done tent holes & ziptie your fixture into place.
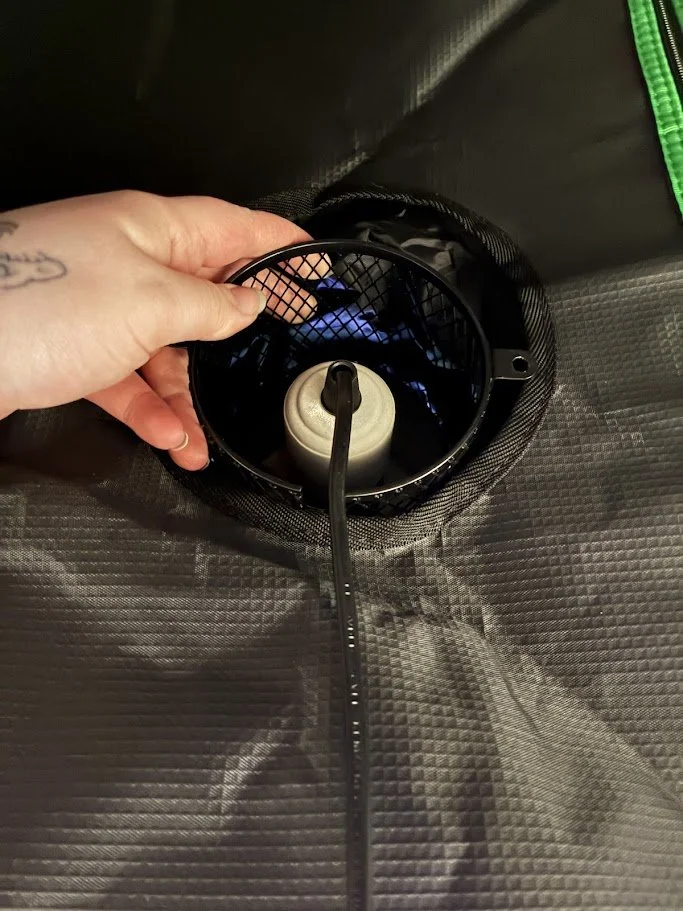
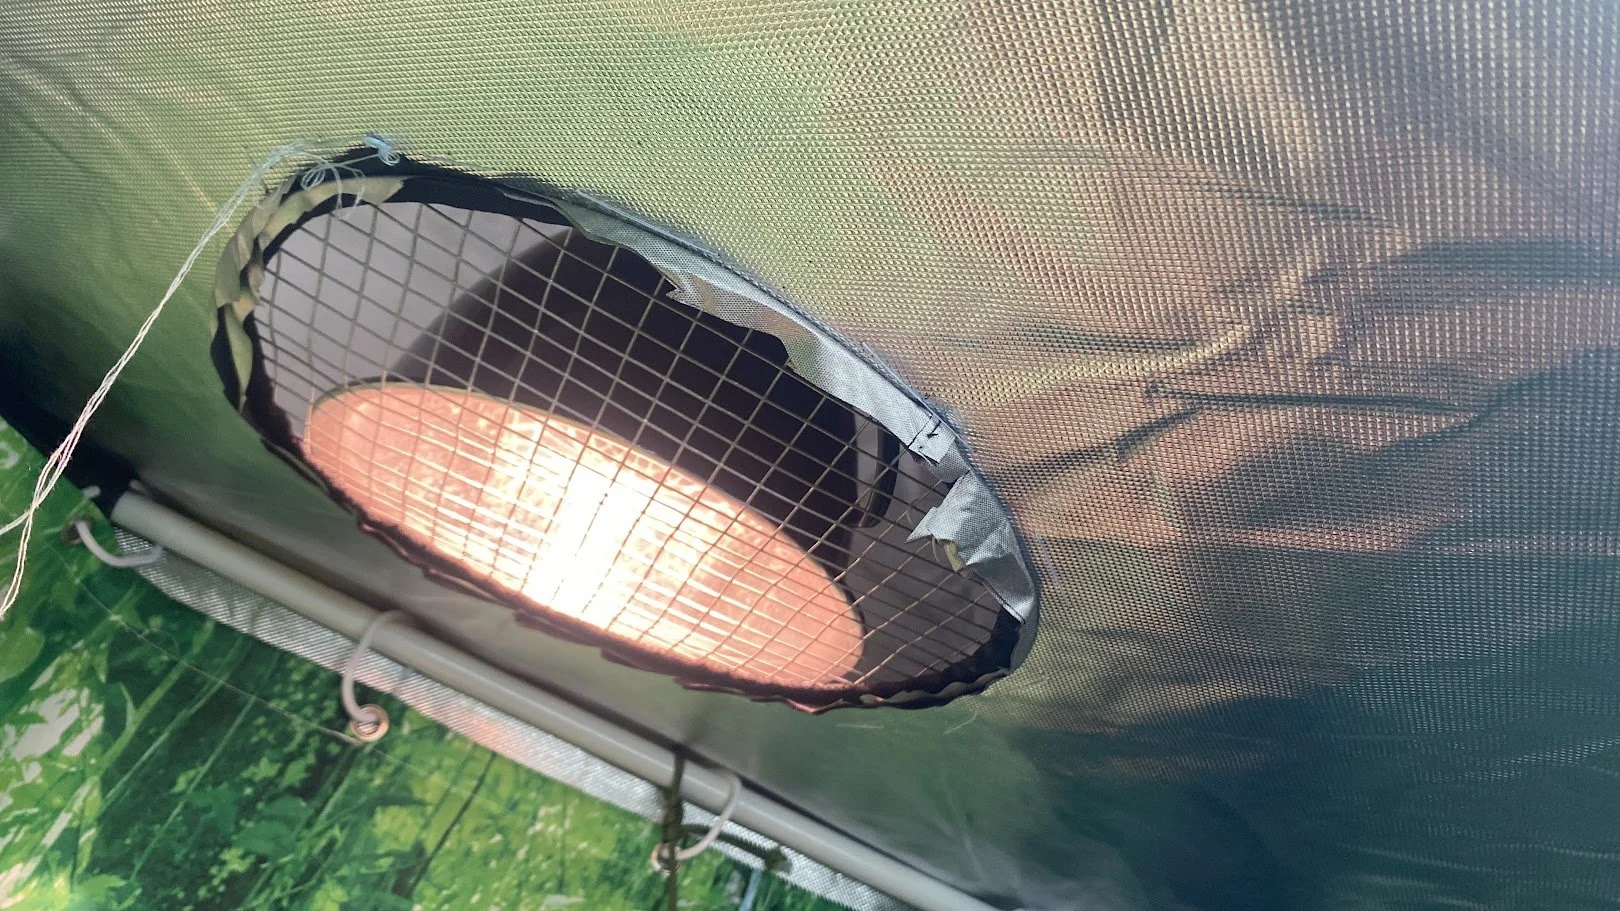
How to install external heating w/ wire screen
Step one (Small area) Using the pre-done vent of the tent cut off the double layered draw string fabric from the inside
Step one (large area): Measure and cut out the area you need for your lighting
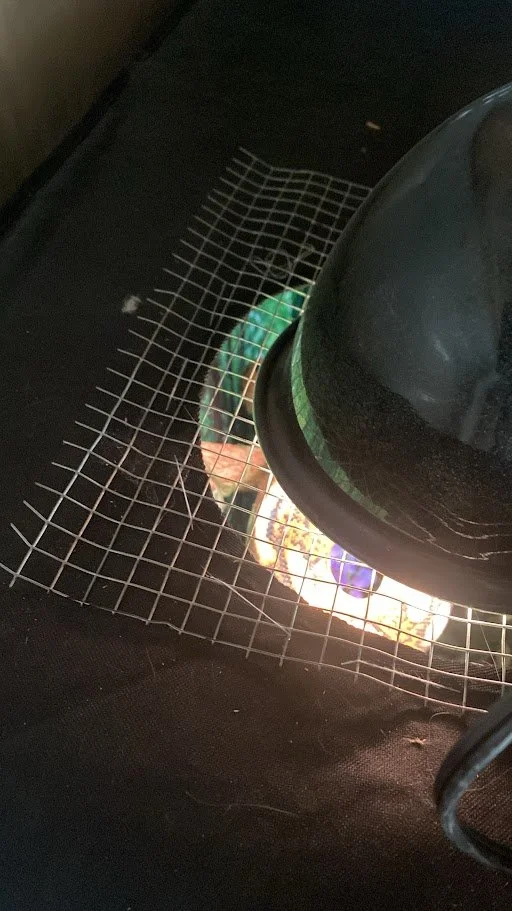
Step Two: Get your wire mesh and cut it down to size leaving an inch of space on all sides.
Step three: From the top of your tent place down your mesh sew it into place.
Step four: Place your heating & lighting on top of your new mesh screen.
Substrate & sanitizing
Organic bark mulch or repti-chip Home depot bark mulch
For lower humidity species skip the sphagnum moss and add Home depot play sand (Wash sand until it's no longer cloudy.)
Sanitizing
Step one: Mix the all your substrate bases together
Step two: Bake, freeze or spray your mix before putting it in with your animal. This also includes any branches, rocks or bark you may have collected.
Bake at your lowest oven setting for 1 hour
Freeze for 24 hours
Spray preventatives over the soil then allow it it sit for 2 or more days before adding your animal Mite spray
Large branches and bark. Place wood in a bath tub and pour boiling water over them. Scrub them down using dish soap and repeat several times.